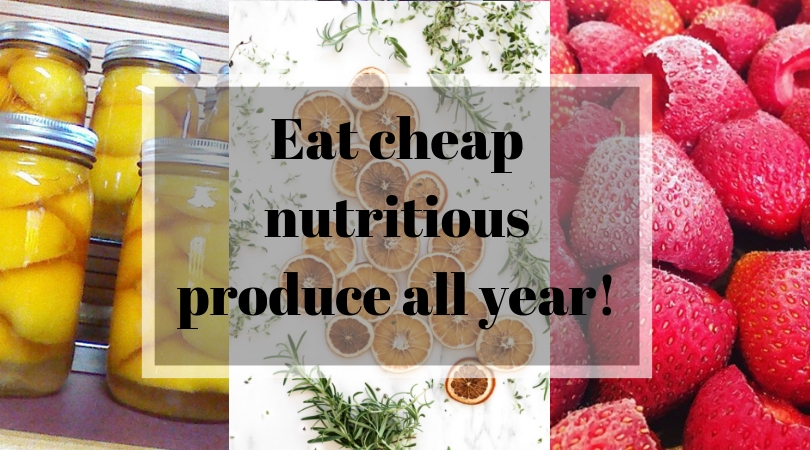
Easy Food Preservation to Save Money
So far in this Eating Well on a Budget series, we’ve already covered several ways you can save money on groceries right away – meal planning, buying in bulk, effective couponing, and preventing food waste. Today I’ll share about one of the things I do throughout the year to save money in the future: food preservation.
This is one of the ways I am able to keep our grocery budget at $100 per week for a family of four. When you preserve delicious in-season produce purchased at rock-bottom prices, you aren’t going to be paying absurdly high prices for sub-par flavorless produce the rest of the year. Each year I spend about $250 on produce to preserve, which would add $4.80 to each week’s budget, though I hope to reduce that by growing a garden next summer. Even without the garden, it’s definitely cheaper than buying fresh (and not as tasty) produce throughout the year.
Start with this post to help you know when to buy the cheapest and most delicious produce en masse. Buy them in boxes from a local farm stand. Start small – you can always adjust the amount next year. Then, decide how you’d like to preserve all that tasty nutrition. We’re going to talk about three easy methods of food preservation: freezing, drying, and canning.
Freezing
Freezing is the simplest method of food preservation, as it does not require special equipment and takes the least amount of time and preparation. Often, all you need is a freezer bag and a permanent marker. Personally, I choose to freeze berries, jams, corn, and meat. I like the way these foods come out when frozen much better than when they are canned or dried. Applesauce and stock are great frozen as well. For most foods, you can simply place them in a zip-close freezer bag with the date and description written on it until you are ready to use them, though it is much easier if you take a little time to prep them first.
- Berries: Wash berries and remove stem, if there is one. Spread berries one layer thick on baking sheets and freeze for two hours. Remove from sheets and place into labeled freezer bags. Freezing on sheets makes them much easier to separate and use throughout the year.
- Jams: Prepare according to freezer jam pectin instructions (or try a chia jam recipe like this one – I haven’t done this myself yet, but I plan to try it…let me know if you have experience with chia jam!) and pour into a labeled freezer-safe container (leave 1” of space for expansion).
- Corn: Carefully remove corn kernels from cobs with a sharp knife (hold the cob vertically and shave down and away from you). Place kernels in labeled freezer bags.
- Meat: Place meat in a labeled freezer bag. If you want, you can trim and cut it first, but you don’t need to.
- Applesauce/stock: Follow the instructions on your favorite applesauce or stock recipe. Pour cooled applesauce/stock into labeled freezer-safe containers (leave 1” of space for expansion).
Keep tabs on what’s in your freezer – don’t let perfectly good food sink and sink and sink into the deep-freeze abyss, only to be tossed due to years-old freezerburn. This process is about saving money, not tossing it! Taking quick stock during your budget-driven meal planning is a great way to make sure you’re cycling through things and saving money!
Tip: You certainly don’t need one, but a vacuum sealer is a handy tool for freezing, as it removes all of the air from the bags your food is preserved in, saving space and preserving freshness even more!
Drying/Dehydrating

Also very simple, drying/dehydrating foods can be a great way to preserve nutritious food for meals and snacks
throughout the year. You can dehydrate some foods in your oven, or you can use a dehydrator. They are about $30-40 online or in most kitchen or home goods stores.
Instructions for dehydration times vary depending on the food and recipe you are using. In general, the steps involve preparing the food you’d like to dehydrate, popping it in your oven or dehydrator, and waiting. It’s pretty much that simple.
For some example recipes, check out how you can make your own banana chips, raisins, beef jerky, or dehydrated meals for backpacking or an emergency kit. The dried food possibilities are pretty endless.
Tip: If you’re drying onions or garlic in a dehydrator, place it outside while it’s working. Trust me. Your house will smell like a sulfurous vegetable for days.
Canning
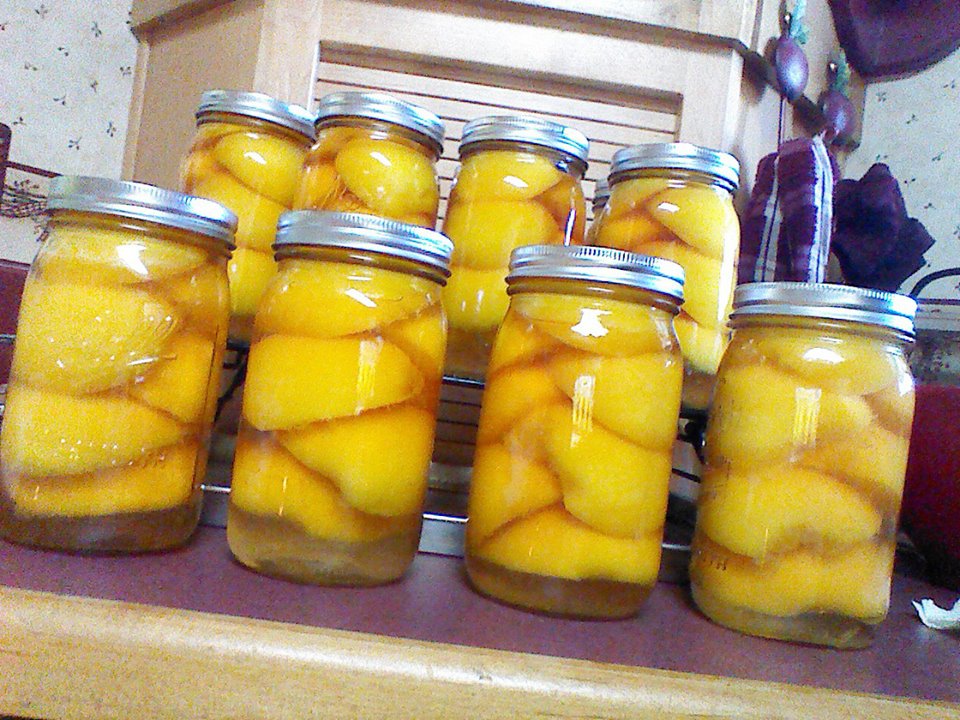
Canning is the most seemingly intimidating method of food preservation, and while it is a little more labor-intensive, it’s typically much easier than most people think! The simplest method is water bath canning, which can be used for high-acid fruits. For water bath canning, all you’ll need are prepared fruit, water or extra-light simple syrup, canning jars with matching rings and lids, a jar lifter, a canning rack, and a very large stock pot. No pressure gauges, no fancy equipment (though if you can spend a tiny bit on a canning kit like this one it will definitely make it more convenient).
Basic steps for water bath canning
These steps are an overview – please check out more detailed instructions before canning to ensure safe results. 🙂
- While completing remaining steps, heat enough water to boiling in your stock pot to cover all of your canning jars when full.
- Place prepared fruit (in most cases, this means removing pits, stems, and peels, but check out the recommendations here) in hot, clean jars, leaving 1/2”-1” space at the top.
- Ladle hot syrup over top of fruit, leaving 1/2”-1” space at the top.
- Wipe the top rim of the jar with a clean rag to remove any debris or syrup. Place a hot lid on the jar and tighten a ring on top of it.
- Place jar gently in stock pot. When all jars are placed in stock pot, cover and bring to a boil. Boil for the recommended processing time for your specific fruit and size of jar.
- When processing is complete, gently remove the jars from the pot with your jar lifter. Place on a cooling rack in a non-drafty area and avoiding touching them as they cool. Over the course of the next hour or two, you should hear the satisfying sounds of the jars popping sealed. Congratulations!
See? Not so bad! In fact, it’s pretty darn fun, especially if you can with a friend or family member. Many hands makes light work! You can enjoy your home-canned goodies all year round.
You can also can lower-acid foods through a method called pressure canning. This is slightly more involved, but not by a lot. Follow these instructions for safe and simple pressure canning.
Tip: Home-canned fruits and vegetables will ruin you for the store-bought versions. Don’t say I didn’t warn ya.
Related Articles
Money-Saving Tip: When Good Produce Goes Bad
3 Easy Steps to get Started Couponing
The Must-Try Meal Planning Hack to Stop Wasting Food and Money


Leave a Comment