One of the first things we wanted to do this Spring was get some fruit trees in the ground since they are such an investment into food production on the property. We planted two cherries, a peach, and a pear tree to go along with the apple tree that was already on our property. These new trees should produce a decently-sized fruit harvest in 2-4 years. We plan to plant and maintain this orchard using permaculture principles as much as we are able: promoting diversity, planning efficiently, and utilizing resources fully.
The diversity of trees will be joined with a wide variety of shrubs, berry bushes, herbs, and flowers. These will help to promote a wide variety of microorganisms and pollinators, and limit damage from diseases and pests. Each plant will have different resistances to disease and pests, essentially diversifying our investment and promoting a hardy homestead. Here’s to healthy food production!
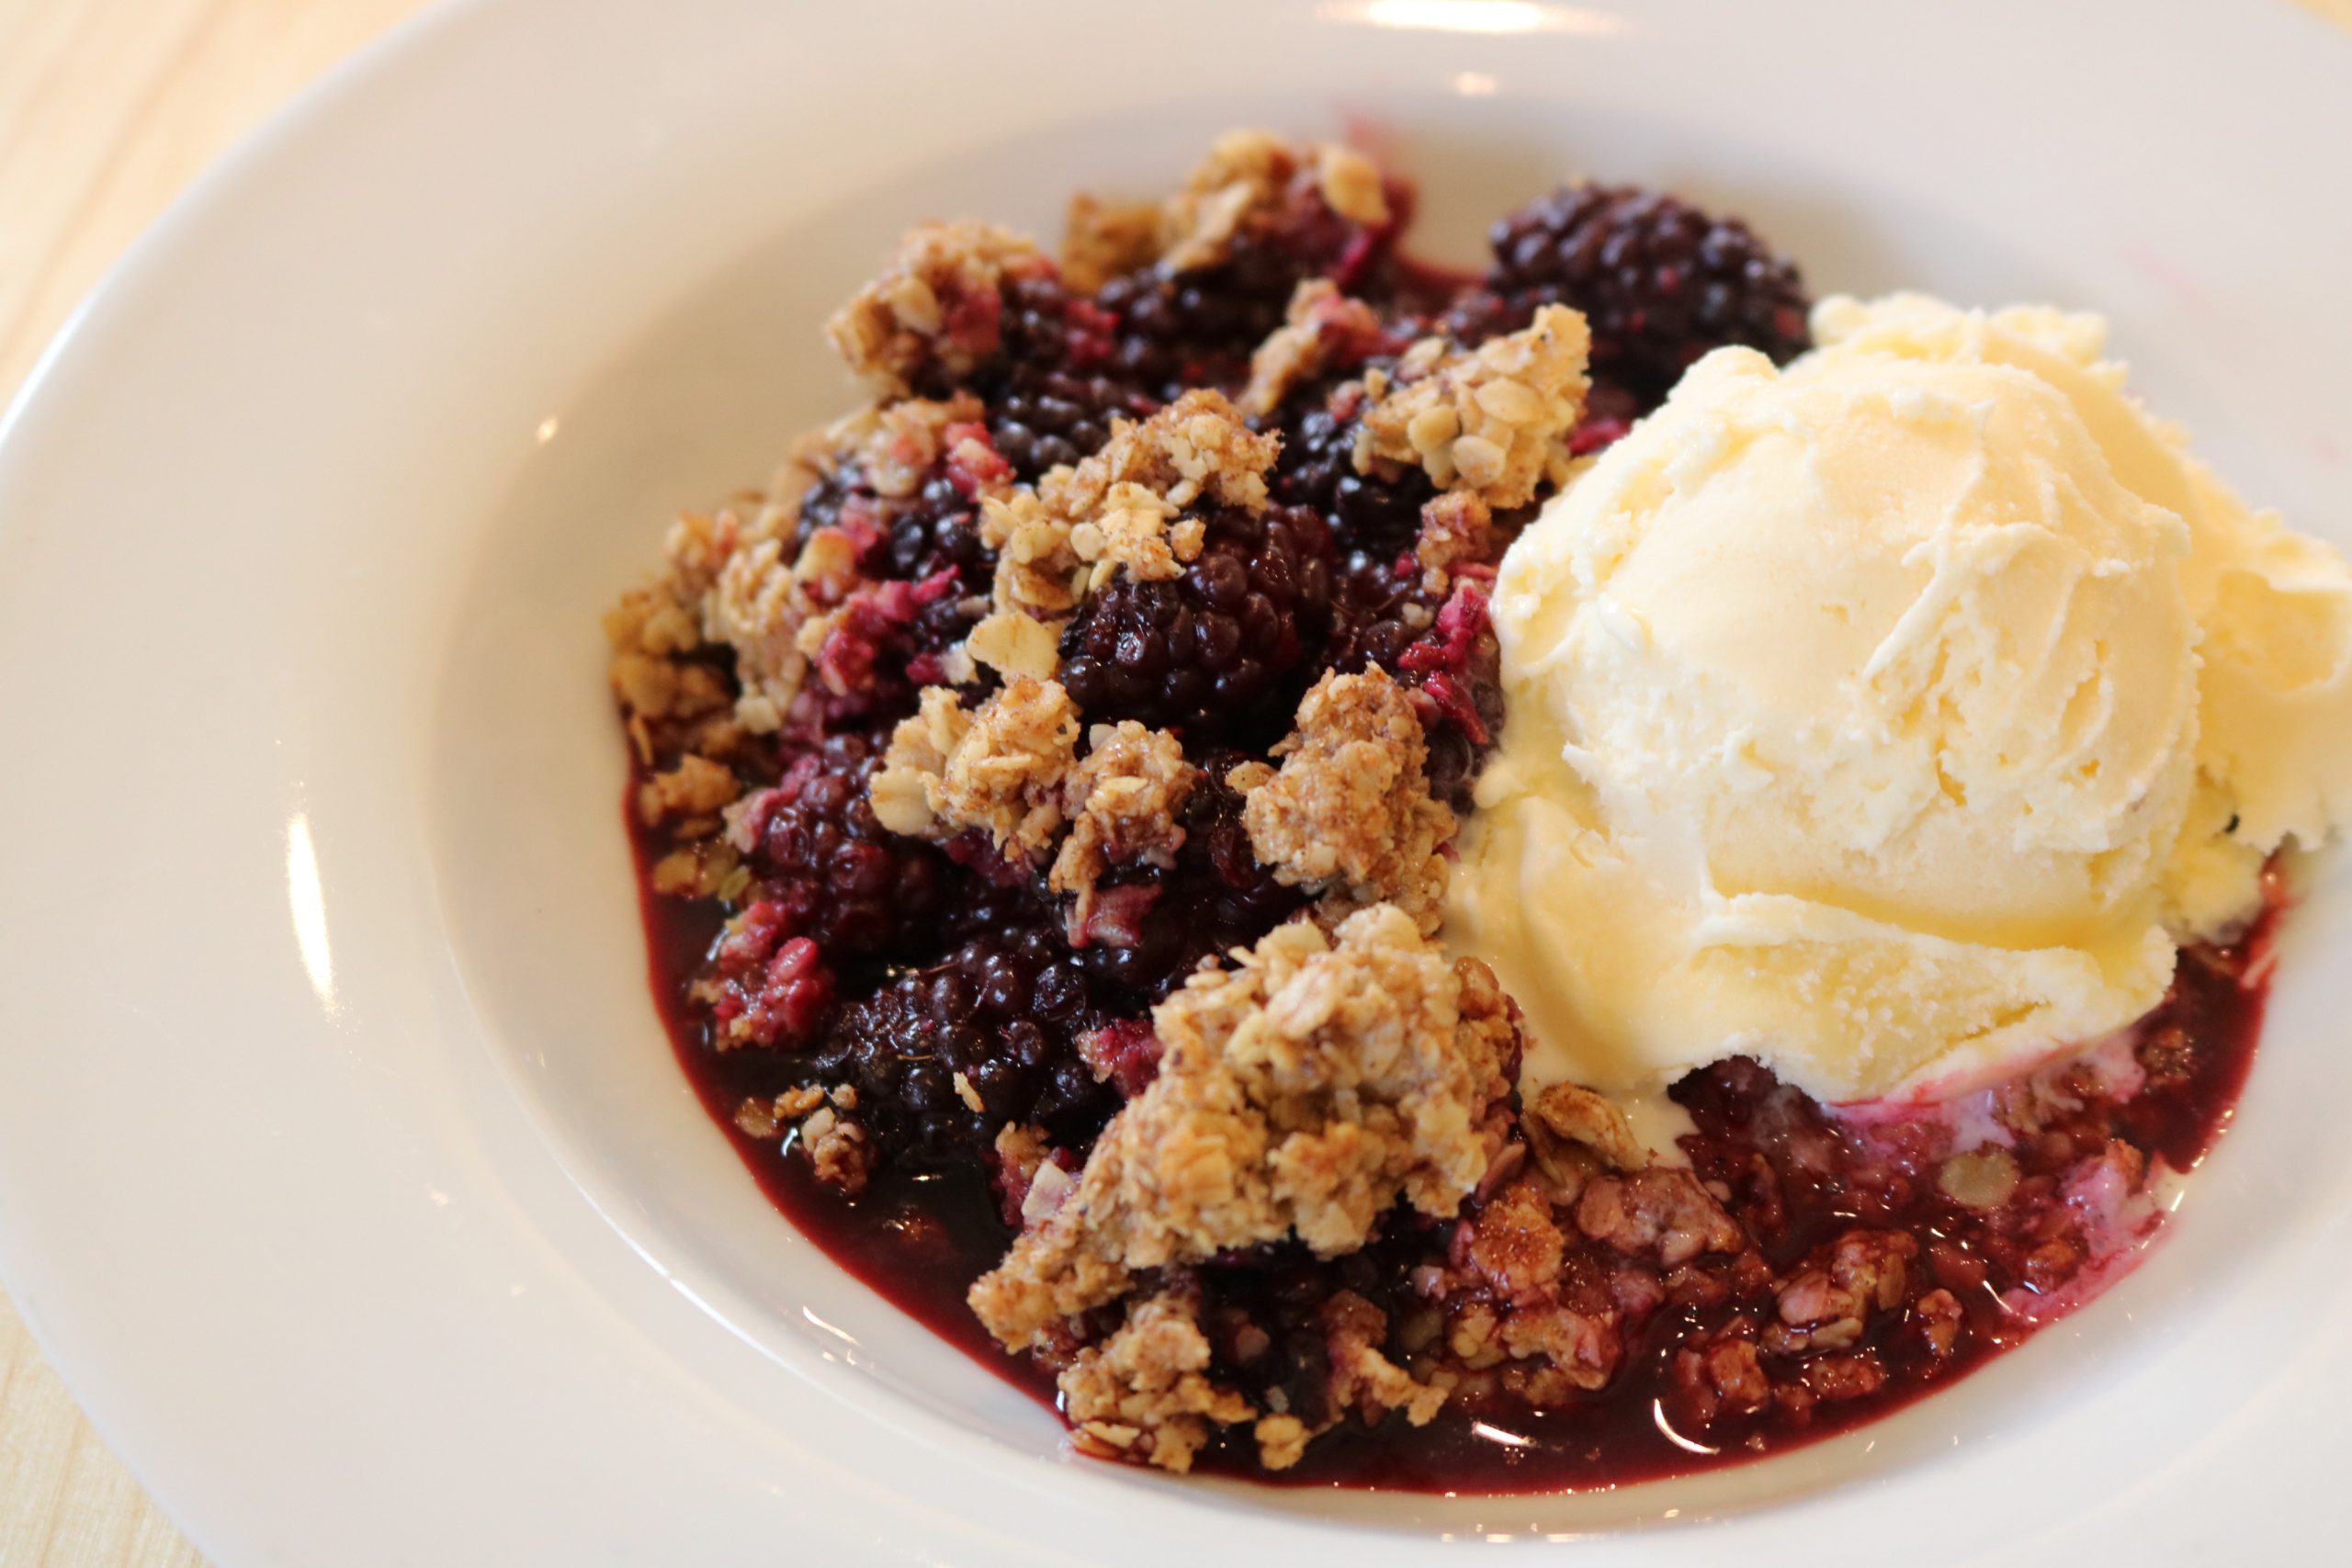
This crisp is so easy to make and so delicious. With just a few ingredients and a few minutes of prep time, you can put a warm dessert that will thaw even the frostiest of hearts. I absolutely love frozen berries – this recipe is made using marionberries frozen from our local berry farm, but you can use any frozen berries you like. Mix it up with several different kinds of berries if your heart desires!
Berry Almond Crisp
This crisp is so easy to make and so delicious. With just a few ingredients and a few minutes of prep time, you can put a warm dessert that will thaw even the frostiest of hearts. I absolutely love frozen berries – this recipe is made using marionberries frozen from our local berry farm, but you can use any frozen berries you like. Mix it up with several different kinds of berries if your heart desires!
1/2 cup oats
2 Tbsp brown sugar
2 Tbsp butter (softened)
2 Tbsp almond butter
1 tsp cinnamon
1/2 tsp nutmeg
4 cups frozen marionberries
2 Tbsp chia seeds
Preheat oven to 375 degrees.
In a medium bowl, mix oats, brown sugar, butter, almond butter, and spices using a fork or a pastry blender.
Place frozen berries in a 6-qt casserole dish. Sprinkle with chia seeds.
Spread oat mixture on top of berries. Bake for 35-40 minutes or until top is golden and berries are bubbly.
1 serving contains 181 calories, 25 g carbohydrate, 8.6 g fat, 3.9 g protein, 32.6 mg sodium, and 7.3 g fiber.
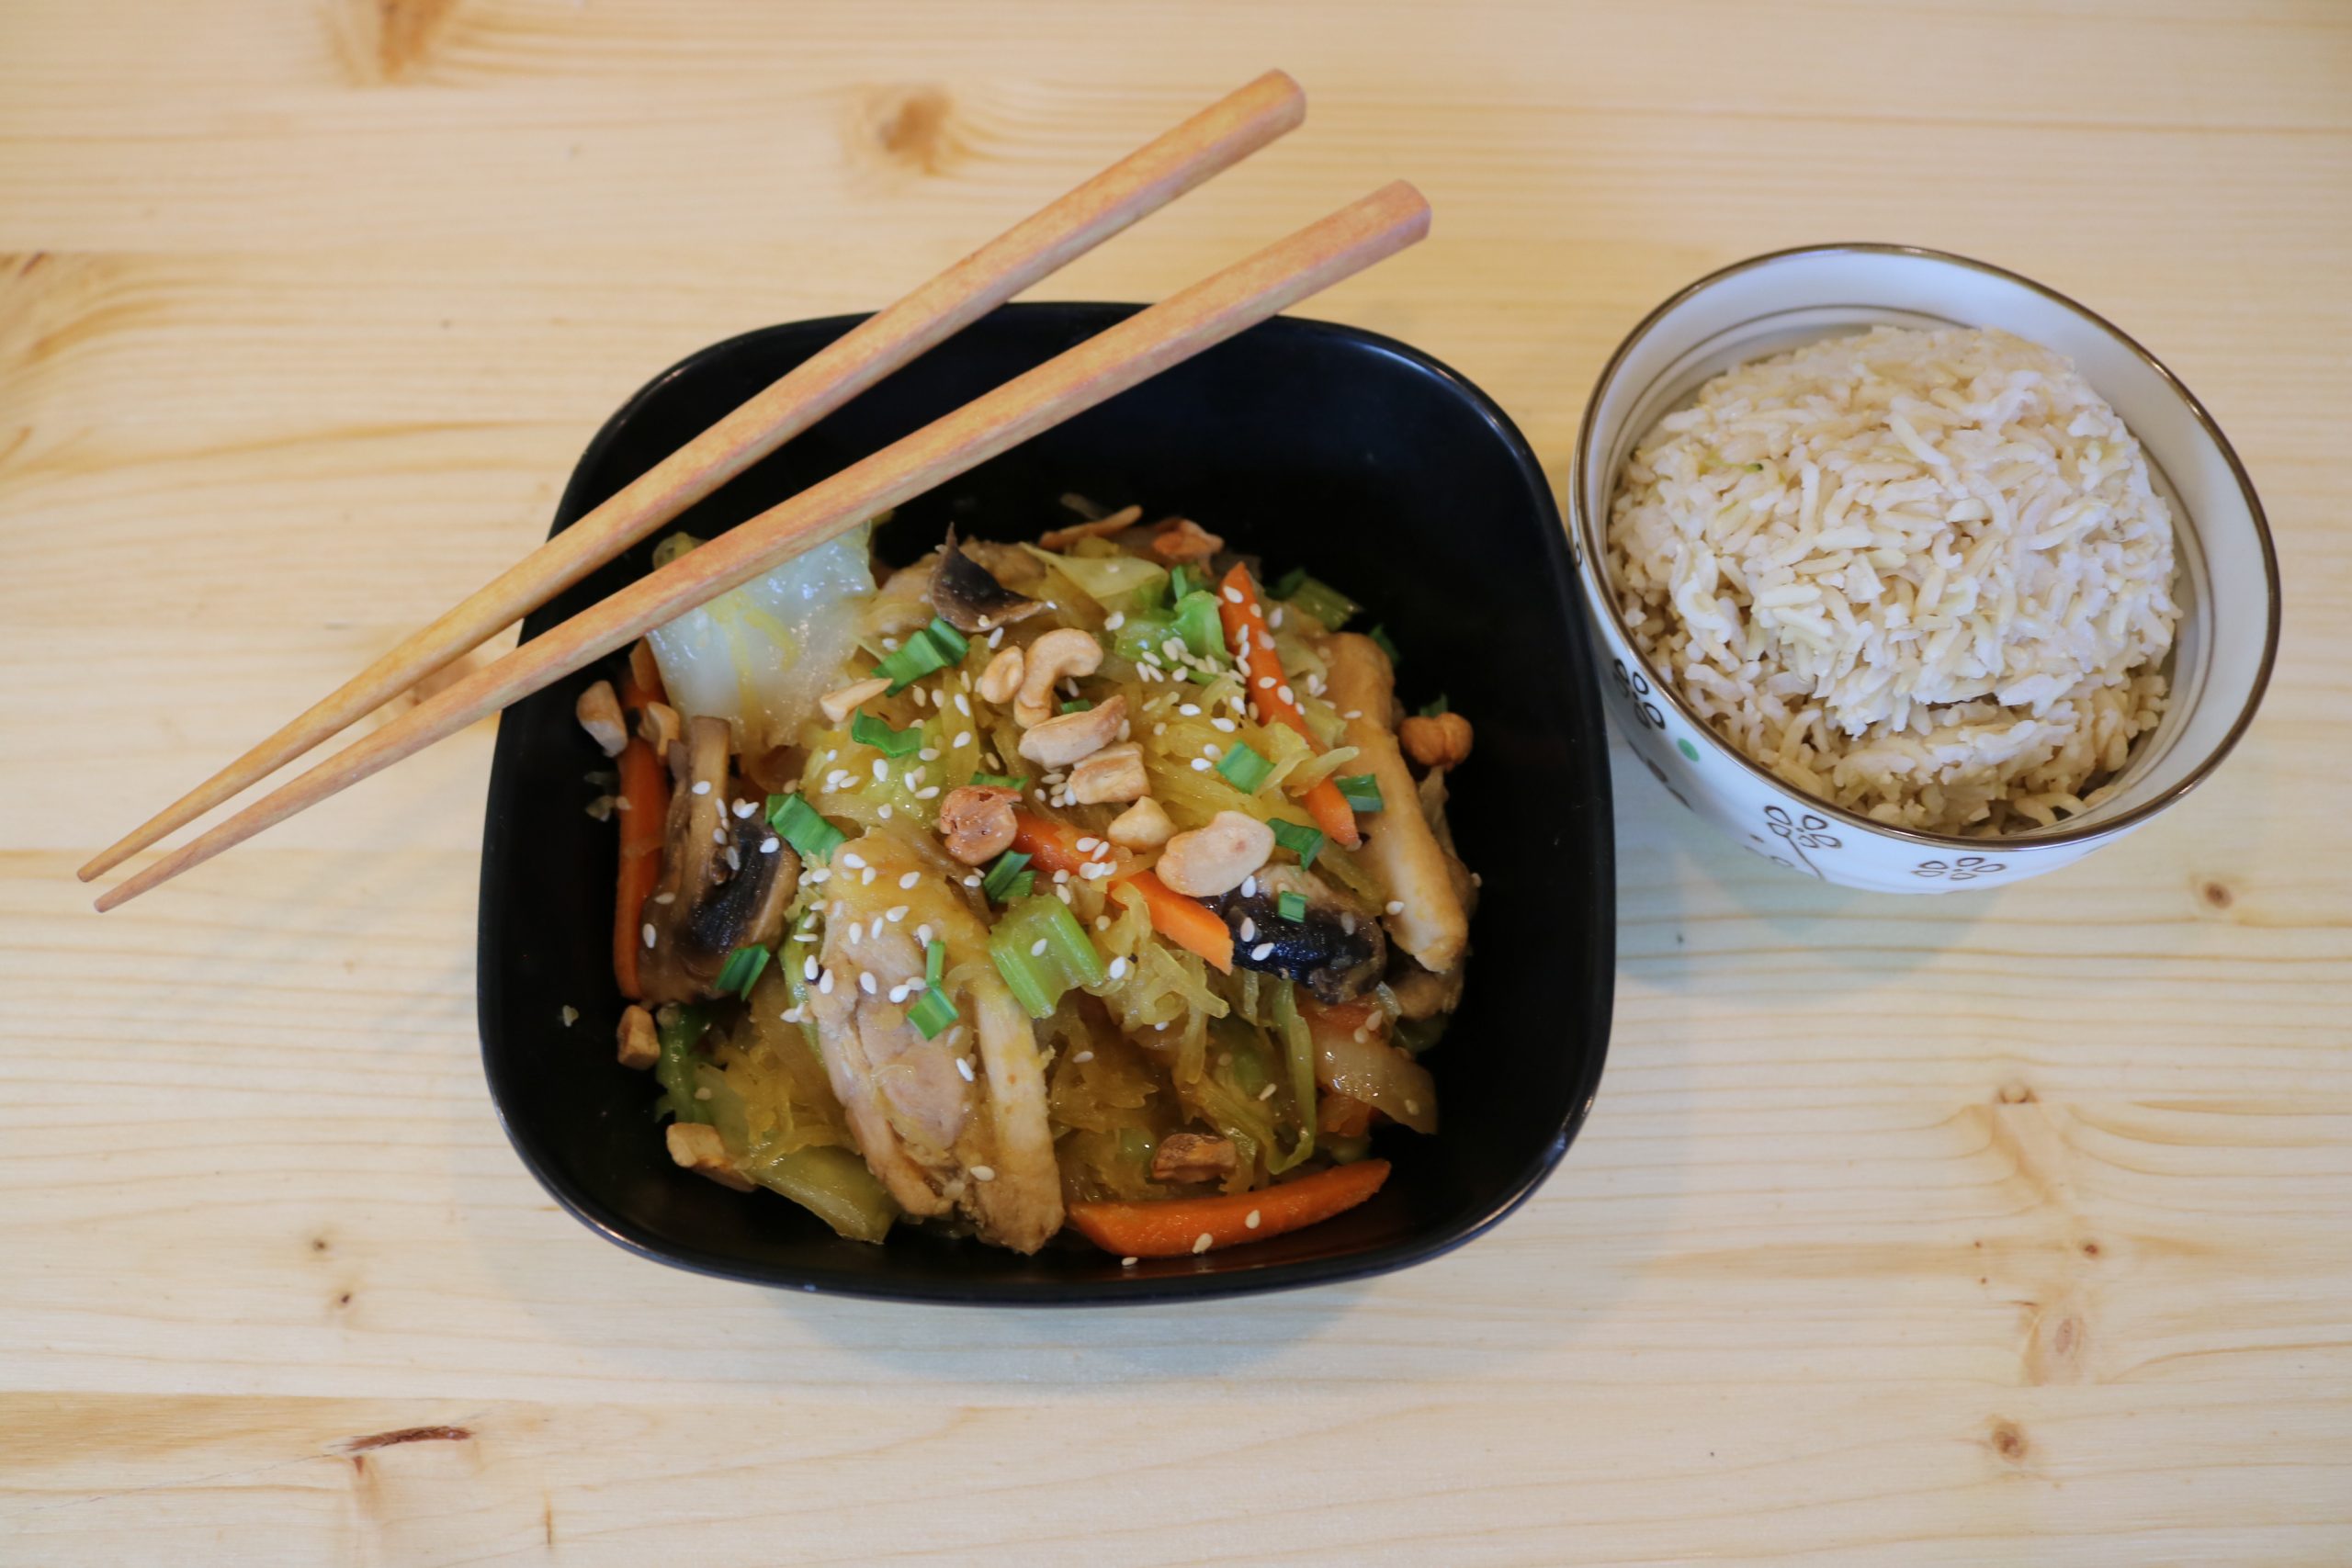
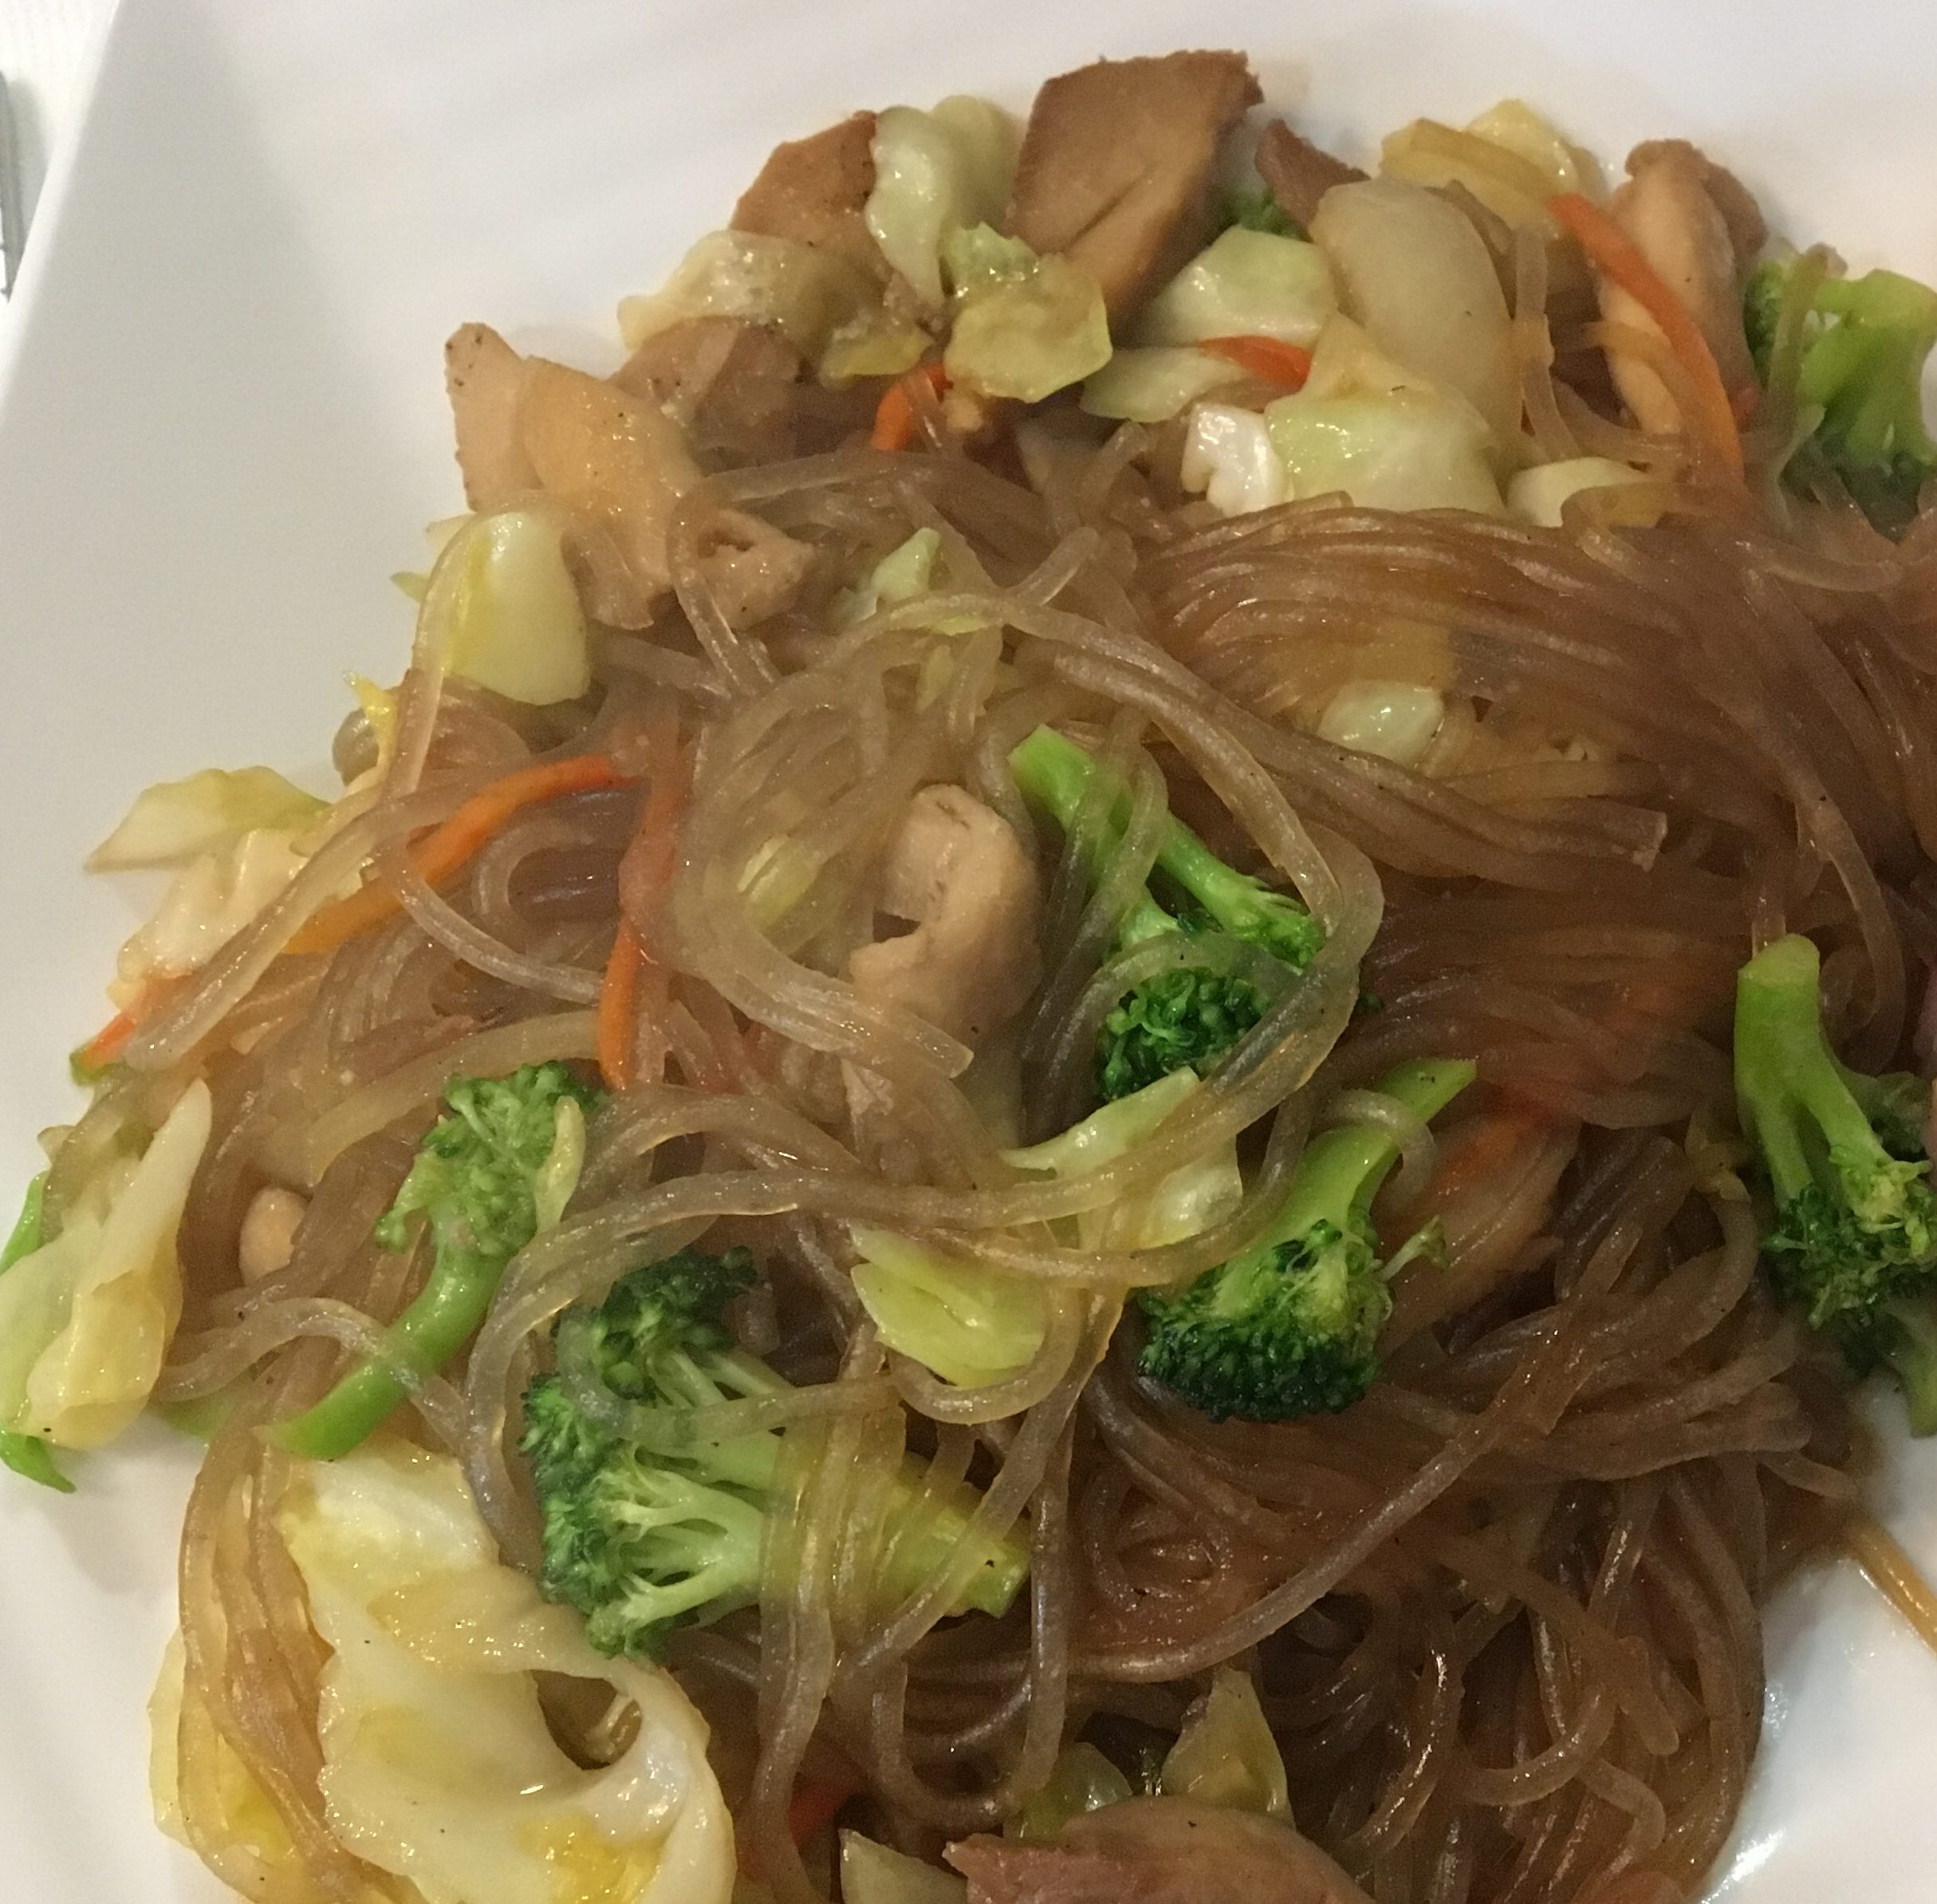
Japchae (pronounced jap-chay) is a savory, umami Korean noodle dish I always get whenever I visit a local Korean day spa. It is one of my favorite things to eat and always conjures feelings of healthy, relaxed self care for me. 🙂 Typically, japchae is made with sweet potato glass noodles (you should definitely try it that way also!) but I’ve made this spaghetti squash version because I have piles of spaghetti squash in my winter food storage left over from my summer garden.
It’s also a great dish to practice your chopstickin’ skills on! Enjoy – and let me know in the comments if you tried japchae for the first (or 50th) time!
Japchae-Inspired Spaghetti Squash
Japchae is a delicious, umami Korean dish typically made with sweet potato glass noodles. This spaghetti-squash version is a great seasonal option since spaghetti squash stores great throughout the winter. Serve with a scoop of brown or white rice and enjoy!
1/2 large spaghetti squash
3 stalks celery (chopped)
3 carrots (cut into thin strips)
4 garlic cloves (minced)
1 medium onion (sliced thinly)
3-4 mushrooms (sliced)
1/2 head cabbage (shredded)
3 chicken thighs (sliced)
1/4 cup low-sodium soy sauce
2 Tbsp brown sugar
3 Tbsp sesame oil
2 tsp sesame seeds
sesame seeds, green onions, cashews (optional – for garnish)
Carefully slice spaghetti squash in half and scrape seeds and pulp. Place half in a microwave for 15 minutes.
While squash is heating, mince garlic and slice onions, carrots, celery, mushrooms, cabbage, and chicken.
In a heated skillet over medium-high heat, brown chicken pieces on all sides.
When cooked through, add garlic, onions, and celery. Cook for 2-3 minutes until onions begin to be translucent.
Add carrots, cabbage, and mushrooms, and gently stir fry until cabbage is softened.
Add soy sauce, brown sugar, sesame oil, and sesame seeds. Stir until mixed through.
Remove cooked spaghetti squash from microwave with a towel or pot holder (it will be very hot). Place paper towels or a kitchen towel on the spaghetti squash and press the extra water from the squash.
Use a fork to scrape the spaghetti squash strands into the skillet with the rest of your ingredients. Stir to combine.
Optional: garnish with sesame seeds, chopped green onions, and cashews
This recipe may contain too much sodium if you are on a low-sodium diet. To reduce the sodium by about half, exchange the soy sauce for coconut aminos.
1 serving contains 271 calories, 14.3 g protein, 22 g carb, 15.8 g fat, 742 mg sodium, 123% DV of vitamin A, 44% DV of vitamin C, and 33% DV vitamin K.
This creamy, delectable macaroni and cheese is the definition of comfort food. In an epic stroke of blended brilliance, this one-dish meal brings you lean protein, a mondo-dose of calcium and vitamin A, a full serving of vegetables, complex carbohydrates for sustainable energy, and all the cozy, cheesy winter vibes you could desire. The sauce contains an entire butternut squash and a cauliflower to boost the nutritional impact of this otherwise unassuming kid-friendly dinner.
An immersion blender can be a very helpful tool to make this recipe prep a snap, but it’s not necessary. You can use a regular blender, food processor, or even a potato masher (though the blend-ier options will get you a smoother sauce). To save time, you can also purchase the butternut squash and cauliflower already cubed (fresh or frozen).
Let me know in the comments if you give this recipe a try!
Veggie-Loaded Macaroni & Cheese
This creamy, delectable macaroni and cheese dish is the definition of a comfort food. Plus, each serving includes lean protein, vegetables, healthy complex carbs, and a mondo dose each of calcium and vitamin A.
1 whole butternut squash
1 head cauliflower
1 1/2 cups brown rice macaroni (sub any whole grain or legume-based pasta if desired)
1 cup shredded cheddar cheese
1 block reduced fat cream cheese (8 ounces)
2-3 Tbsp low fat milk
1/2 tsp paprika
1/2 tsp turmeric
1 tsp garlic powder
1 tsp onion powder
1 tsp salt
1/4 tsp ground black pepper
2 c diced ham
Place a large pot of water on high heat to boil (include a strainer basket if you have one).
Roughly chop cauliflower into large florets. Peel and cube butternut squash.
When water is boiling, add butternut and squash and boil until fork tender, about 8-10 minutes.
While vegetables are boiling, shred cheese.
Strain vegetables from boiling water and add macaroni to same water. Cook according to package directions.
Note: this adds flavor and nutrition to the noodles, but to save time, you can cook macaroni in a separate pot at the same time as the vegetables.
While macaroni is cooking, place squash and cauliflower in a large casserole dish with cream cheese, cheddar cheese, milk, and seasonings. Using an immersion or stick blender, blend very thoroughly until sauce is smooth and creamy and there are no large pieces of vegetable remaining.
Note: If you do not have an immersion blender, perform this step in a regular blender or a food processor and add to casserole dish when done.
When macaroni is done cooking, drain and add noodles and ham to casserole dish with sauce. Stir until well combined.
1 serving contains: 352 calories, 20 g protein, 33 g carbohydrate, 15 g fat, 1026 mg sodium, 8.7 g saturated fat, 6.3 g fiber. It meets 25% daily RDA for fiber, 10% for iron, 26% for calcium, 27% for potassium, and 84% for vitamin C, based on a 2000 calorie per day diet.
Health notes: This recipe contains a higher sodium level than may support heart health with certain conditions. To reduce the sodium, cut the salt to 1/2 tsp and try chicken or chopped Canadian bacon in place of the ham.
Disclaimer: Products purchased through affiliate links will earn me a small commission at no extra cost to you. Please know that I only recommend products that I have used and believe in.
It’s New Year’s and the fad diets and crazy exercise trends abound. Use these tips to avoid the over-restrictive trendy madness and still make some healthy changes that might actually make it to next New year!
Of course you want to be healthy – but everywhere you look, diet culture’s miserable mandates run wild. How are you to know what healthy really looks like? Look no further.
Down Home Dietitian’s got you covered – with simple healthy recipes, informative videos, totally doable workouts, and grow-it-yourself gardening advice. If you want to be healthy and you don’t want to be miserable doing it, this is the channel for you. Subscribe so you don’t miss a thing! Because healthy doesn’t have to be hard.
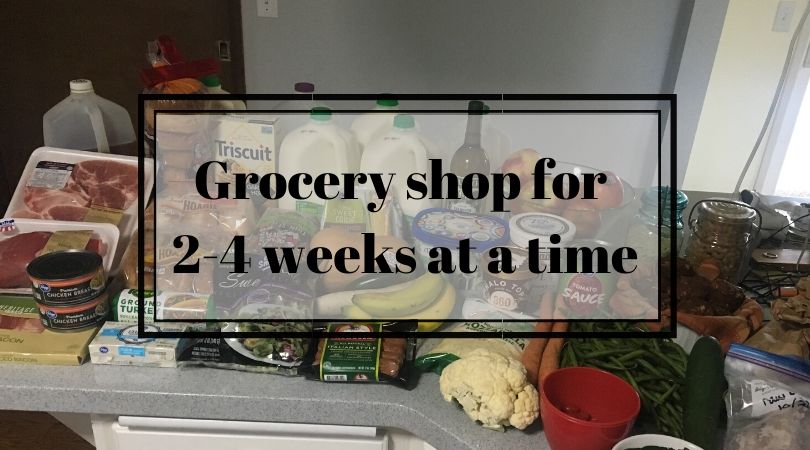
Let’s get right down to reality: grocery shopping is not that fun of an activity for most people. Right now during the COVID-19 pandemic, it can be even worse! What is grocery shopping like in your area right now? Here there are longer lines, emptier shelves, and though I totally understand the need for social distancing, it gives me middle school ostracization vibes. Since I’m trying to minimize my exposure (to COVID-19 and the discomfort of grocery shopping), I’ve decided to try to spread out my shopping to every 2 weeks instead of every week. This poses some logistical questions: how do you eat healthy meals for 2+ weeks when many fresh ingredients only last a week? How can you possibly remember everything you’ll need?
In the past, I’ve walked you through a step-by-step method for making a meal plan. If you haven’t read that post, go check it out for some necessary background info. Today I’ll take you through some tips to make that process work for meal plans longer than 1-2 weeks. This is useful if you prefer to/are only able to grocery shop once or twice a month. It’s especially applicable right now, while we’re trying to spend less time out of our homes!
1. Organize your meal plan by ingredient lifespan
To maximize nutrition and variety, plan your meals around the ingredients that will “make it” to each week. Balance this based on the fridge/freezer/pantry space you have. If you have less fridge space, you may rely more heavily on your freezer. If you’re lacking freezer space, you may rely more on canned or dry goods. If you lack pantry space, stuff canned goods in your shoes! I’m kidding…sort of. Stash ’em wherever you have to – you gotta eat!
Keep in mind that foods from weeks 2-4 can always be eaten sooner, but week 1 foods won’t necessarily make it to weeks 2-4.
Week 1
Proteins
Vegetables
Fruits
Dairy/Calcium
Grains/Starches
Snacks
fresh or frozen meat
chicken
fish
beef
pork
sausage
bacon
deli meat
dry or canned beans
eggs
tofu
leafy greens
asparagus
eggplant
mushrooms
tomatoes
snap peas
cucumber
zucchini/yellow squash
avocados
bananas (peel and freeze after 1 week if uneaten)
tomatoes
grapes
clementine oranges
lemons/limes
fat free or 1% milk
fat free or 1% yogurt
plant-based milks (make sure they are fortified with calcium and vitamin D)
low fat cottage cheese
cheese
tofu
whole grain pasta
brown rice
quinoa
potatoes
sweet potatoes
whole grain bread products
whole grain cereals
fresh veggies with hummus
apples with peanut butter
grapes and cheese
whole grain crackers with cheese
tortilla chips with salsa and cottage cheese
dark chocolate
Week 1 Meal ideas: chef salad, deli meat sandwiches, salmon with grilled or roasted asparagus, tacos, hamburgers, veggie scrambles/frittatas, Greek cucumber and tomato salad, Buddha bowls
Week 2
Proteins
Vegetables
Fruits
Dairy/Calcium
Grains/Starches
Snacks
frozen meat*
chicken
fish
beef
pork
sausage
bacon
canned salmon, tuna, or chicken
dry or canned beans
eggs (hard-boil after 2 weeks if uneaten)
tofu*
cabbage
carrots
broccoli
cauliflower
beets
butternut or acorn squash
bell peppers
onions
apples
oranges
pineapple (buy under-ripe or canned)
watermelon
frozen berries
frozen bananas (leftover from week 1)
fat free or 1% milk* (take out to thaw 2-3 days before you need it)
fat free or 1% yogurt (individual containers will last 2 weeks)
plant-based milks (make sure they are fortified with calcium and vitamin D)
cheese
tofu*
whole grain pasta
brown rice
quinoa
potatoes
sweet potatoes
whole grain bread products* (take out to thaw 1 day before you need it)
whole grain cereals
whole grain crackers with cheese or canned tuna/chicken
trail mix
whole grain chips (e.g. Sun Chips, Food Should Taste Good tortilla chips)
frozen edamame (microwave and salt!)
yogurt with frozen berries & granola
dark chocolate
*Freeze as soon as you get home from shopping.
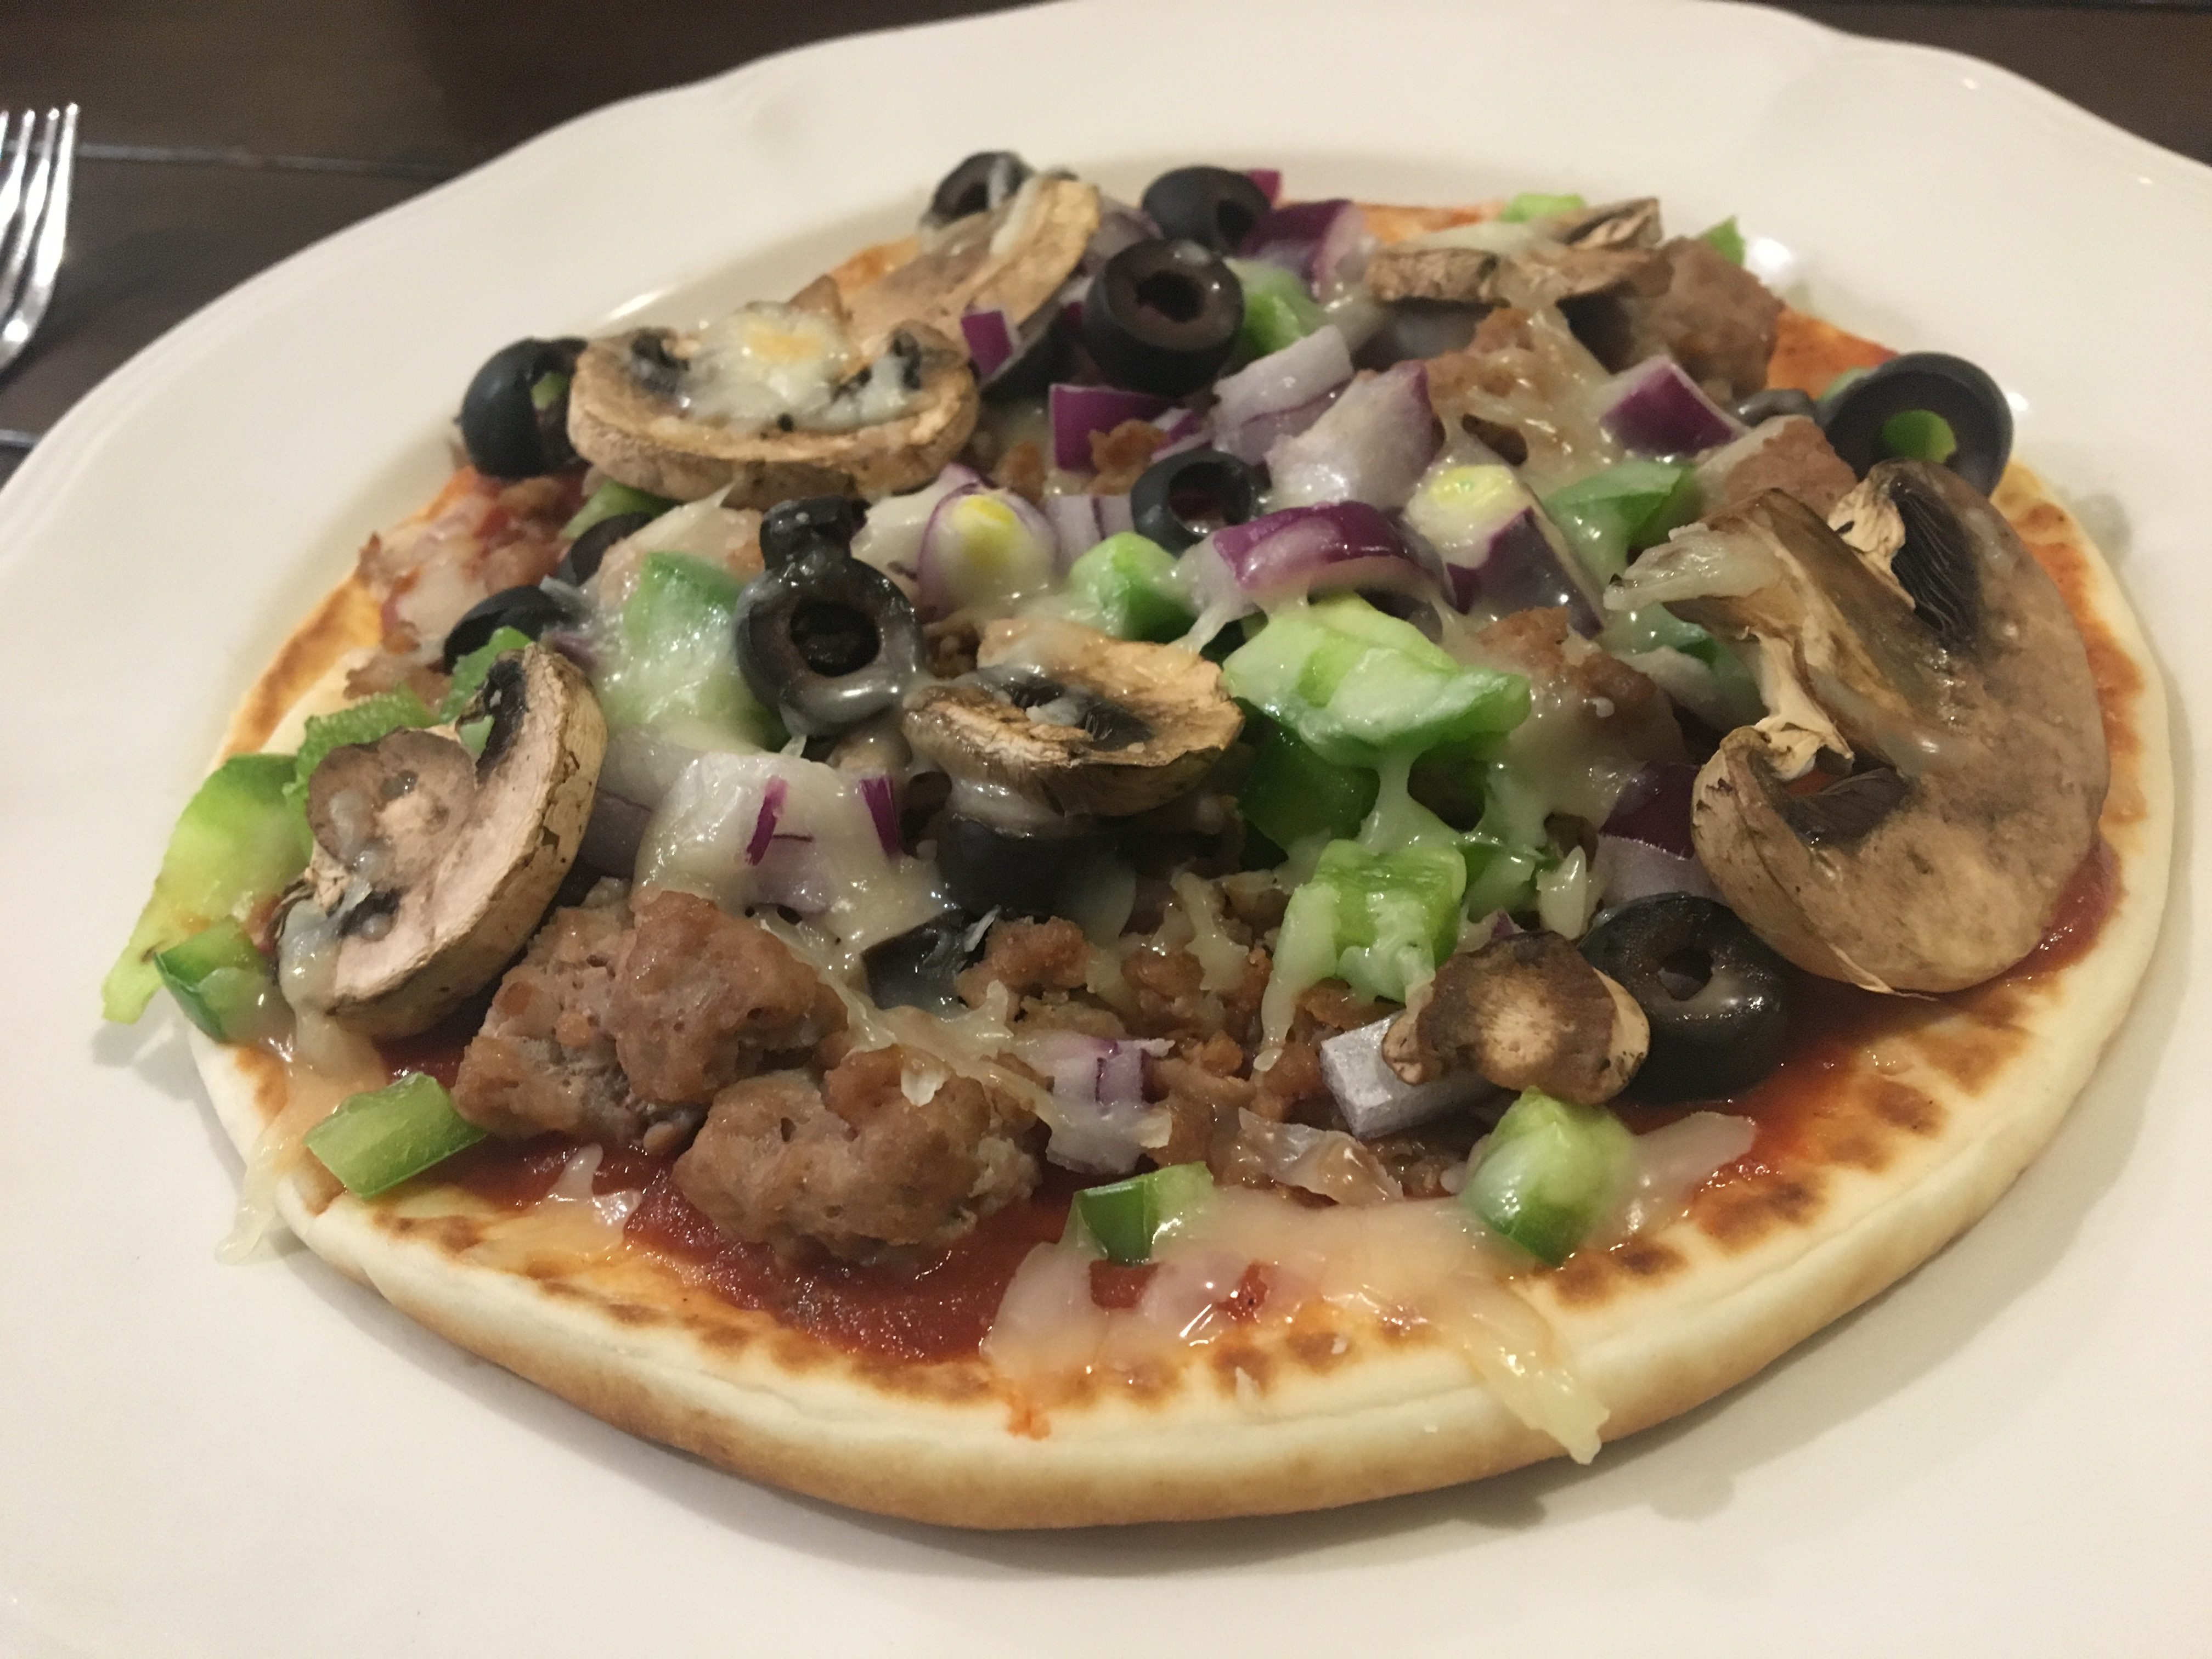
Week 2 meal ideas: stir fry (use any protein you like!) with rice, BBQ chicken w/coleslaw, beef stew, butternut or acorn squash soup, chicken parmesan w/spaghetti, broccoli/cauliflower chopped salad, pita pizzas, Asian chopped cabbage salad, pork chops with steamed broccoli, loaded baked potatoes
Weeks 3-4
Proteins
Vegetables
Fruits
Dairy/Calcium
Grains/Starches
Snacks
frozen meat*
chicken
fish
beef
pork
sausage
bacon
canned salmon, tuna, or chicken
hard-boiled eggs (made in week 2)
dry or canned beans
tofu*
canned/jarred veggies
peas
green beans
beets
diced tomatoes
roasted bell peppers
pickled asparagus
frozen mixed vegetables
vegetable-based sauces
marinara
salsa
pesto
onions
canned peaches or pears (look for those canned in juice and top with a dollop of light whipped topping – yum!)
frozen berries
frozen bananas (leftover from week 1)
dried fruits
raisins
cranberries
cherries
mango
pineapple
bananas
fat free or 1% milk* (take out to thaw 2-3 days before you need it)
fat free or 1% yogurt* (take out to thaw 1-2 days before you need it)
plant-based milks (make sure they are fortified with calcium and vitamin D)
tofu*
whole grain pasta
brown rice
quinoa
potatoes
sweet potatoes
whole grain bread products* (take out to thaw 1 day before you need it)
whole grain cereals
beef or turkey jerky
fruit leathers
trail mix
whole grain chips (e.g. Sun Chips, Food Should Taste Good tortilla chips)
frozen edamame (microwave and salt!)
dark chocolate (yes it’s on EVERY. SINGLE. WEEK…you can tell the haters your dietitian said so)
*Freeze as soon as you get home from shopping.
Week 3-4 Meal Ideas: chili with tortilla chips, deviled eggs with pickled veggies, tuna casserole with frozen peas and carrots, tuna fish or egg salad sandwiches, smoothies, spaghetti with green beans, jambalaya
2. Include “catch-all” meals 1-2 times weekly
“Catch-all” is the term I use to affectionately refer to meals that are delicious with nearly any combination of vegetables. These are super useful when you’ve got odds-and-ends produce left over from other meals. Think curries, soups, stir-fries, scrambles, etc. Schedule 1-2 of these in each week to use up whatever produce you have milling around or that is nearing it’s early end to make sure it doesn’t go to waste.
If you’d like more ideas for catch-alls, check out this post I wrote entirely about these nifty meals!
3. Have some “plan B” meals available
“Plan B” meals are my term for meals you can make entirely from frozen or shelf-stable ingredients. Essentially, they are “week 3-4 meals” that aren’t part of your actual meal plan. I always keep 1-2 meals worth of “plan B” meals available for when the inevitable happens to your plan A. Maybe you had to use up your ingredients early because they were going bad, or maybe some hungry family member unknowingly ate your entree for Friday’s dinner. You’ll save yourself a lot of stress if you keep one or two of these handy just in case.
4. Check your staples before you shop
Shopping for several weeks at a time can make it tough to anticipate all of the kitchen and household needs you might run into. When I plan for a big shop, I’ve learned I must actually take the time to check (yes, open the cupboard and look at) my storage of all of our household staples. Otherwise, I forget that I used up the garlic powder or I don’t notice that my husband used the last Band-Aid. Even worse for a lockdown situation, I might not realize that my teenage son killed the last of his deodorant (yipes)! You don’t want to have to wait 3-4 weeks for some of these necessary staples. Take the time to check it. I know it’s annoying, but the 5 minutes it takes is worth it. Use a staples list to help you out (you can find a pre-made one here, or see mine in this post). Don’t forget spices, hygiene products, and pet supplies!
5. Store it the right way
Spend some time making sure you are properly storing your produce for maximum freshness. I’m constantly learning new ways to store veggies to keep them longer! Check out some of my favorite tips for storing produce:
tomatoes: keep them out of the fridge and intact (on the vine if possible)
carrots: store point down in a jar of water in the fridge to retain crispness
spinach/lettuce: remove plastic and store unwashed in an airtight container with a folded paper towel
mushrooms: store in a breathable bag (paper bags work well) with a folded paper towel
broccoli: store naked in the produce drawer
onions/garlic: store at room temperature in a cool, dry place
potatoes: store at room temperature in a cool, dry place
butternut or acorn squash: store at room temperature in a cool, dry place
bananas: break apart bunches and store separate from other produce (bananas can ripen other produce more quickly)
I hope these tips have helped you navigate long-term meal planning! Leave me a comment and let me know what was useful (or other posts you would like to see)! Stay safe and healthy!
Diet culture is determined to tell you that you have to be miserable to be healthy.
That couldn’t be more wrong.
Subscribe to learn how to go from a frustrated, restricted dieter to a happy, relaxed relationship with food and fitness. Healthy doesn’t have to be hard!


